Hardwood Floor Rehabilitation
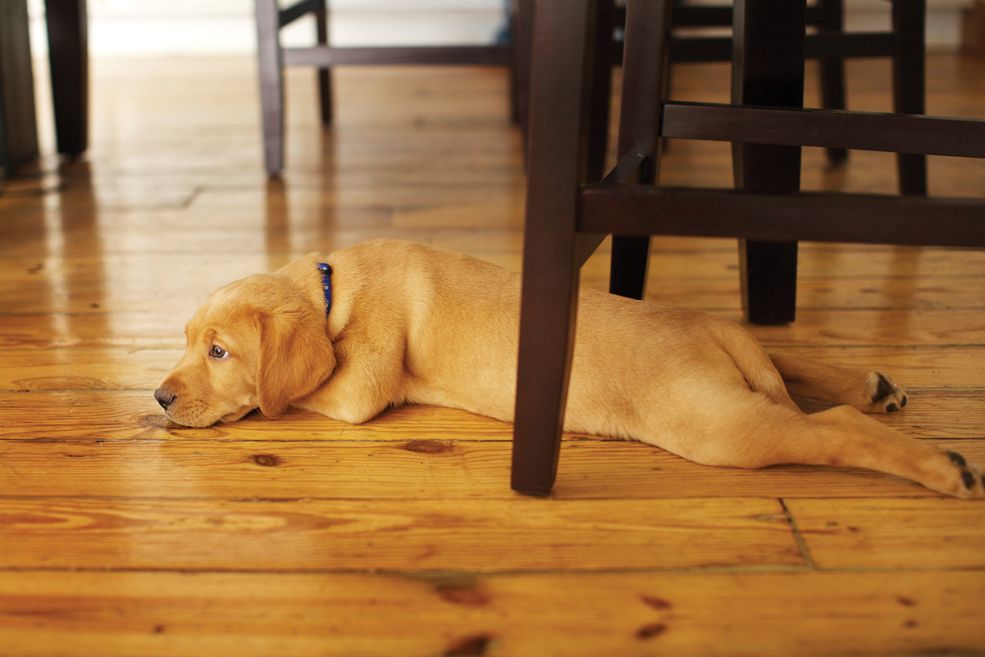
 Hardwood floors are generally desired for their durability and timeless look which complements almost any home. Over time, however, these hardwood floors will inevitably become scuffed and worn, especially in places with high foot traffic or where furniture rubs against them. The good news is that hardwood floorboards can usually undergo some sort of rehabilitation that does not require full replacement. However, it can be a tough decision process; how do you know when it’s appropriate to delve into these procedures, and where do you start?
 Know the Condition of Your Floor
Before undertaking any sort of floor rehab project, it is important to fully understand the condition of your floorboards and the extent of any damage or general wear-and-tear. You do not want to completely strip your hardwood and engage in a lengthy (and likely pricey) escapade when all that is required is a nice refinishing. At the other end of the spectrum, skipping the replacement of damaged boards that could compromise the structural integrity of a home is dangerous. The simplest form of floor recuperation is just a rebuffing of the finish; this is practical when your flooring has only experienced light mars in the finish and no damage to the wood. The more common form of rehabilitation involves sanding down to the bare wood, fixing cracks and holes, reapplying a stain, and then reapplying multiple coats of finish. In more rare and extreme cases, you may need to completely remove the floorboards and start over. Regardless of the condition in which you find your hardwood floors today, a knowledge of how to rehabilitate them at various points in their lifecycle is useful for any homeowner.
Deciding when and to what extent you need to rehab your hardwood floors is often a personal aesthetic preference. However, it is generally recommended to go through a refinishing process if your boards are cracking or showing through your finish. If your floorboards are much older or have experienced trauma such as water damage, you may need to completely pull up your boards and start from scratch. You will want to seek the help of a flooring specialist when considering whether full replacement is right for your home. If you have experienced water damage, you should check your floorboards for moisture. Experts say that the normal moisture content of hardwood floors is about 8 to 12 percent, but if they are saturated beyond that, you may need to pull up the damaged floorboards, replace them, and then proceed with the entire refinishing and sanding process.
 Weekend Warriors, Beware!
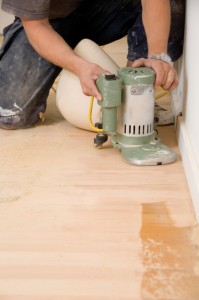
When sanding and finishing a floor, it’s probably best to call in a professional for this intensive task, especially if you don’t have experience with this project. Mistakes will be obvious on wood flooring, and you may end up doing more harm than good. A professional will also help determine exactly what needs to be done and what type of sander should be used for your wood species. Depending on the size of the project, it will likely take a professional anywhere from two days to a week to complete. This means that the project could be a large disruption to your family, particularly if the floor undergoing rehabilitation is in a commonly-used area. In certain situations, it may be best to move your family out of the home for a few days.
In recent years, innovations in sanding techniques have made the job less messy and disruptive. Technology has resulted in a relatively new sanding system that captures about 95 percent of the dust particulates created from sanding hardwood. This makes cleanup easier and also shortens downtime between coats of finish.
If you require only a rebuffing of your topcoat, this could be a do-it-yourself project. You can rent a buffer and buy approximately one gallon of polyurethane floor finish per 400 to 500 square feet of flooring. Keep in mind that if your floor has been waxed, you need to strip off any of this residue using wax stripper or mineral spirits before buffing; otherwise, the new finish will not adhere properly.
 Do-It-Yourself Alternative
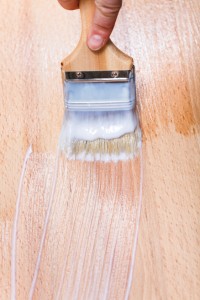
There are alternatives to the traditional refinishing of hardwood floors. One technique gaining popularity is liquid refinishing. Though this is not a recommended route for extremely worn or damaged floors, liquid refinishing is inexpensive and less disruptive than other methods. And, since there is no sanding involved in the process, you can probably do it yourself. You begin this process by choosing a liquid refinisher product, which is basically a combination of solvents specifically designed to dissolve finishes. Because these products can be highly toxic, take caution by ensuring the room where you are working is adequately ventilated, and wear protective gloves and a mask. Pour the liquid refinisher in a metal pan and use a synthetic pad to scrub away and dissolve your old finish, wiping up any excess liquids after dissolving is complete. Once the old finish has been removed, you can make minor repairs to your floor using wood filler putty. You will then need to smooth these repairs using a hand sanding block with medium-grit sandpaper (100 to 120 grit), vacuuming thoroughly afterwards. Finally, apply your stain, followed by a coat or two of clear finish made specifically for hardwood flooring.
Regaining Your Look
In the end, you want your hardwood floors to be aesthetically pleasing while also unifying your living space and completing the image of your home. This means that the stain, sheen and finish are all important factors in achieving the right look for your floors. In particular, the sheen, or gloss level, can be divided into three main categories: satin, semi-gloss and gloss. Satin gives a more traditional and natural appearance to your boards, while gloss adds a glass-like reflection and is a premium choice for a lustrous finish. Remember that stains will darken over time and the gloss level can affect the coloring as well. When deciding on a finish, be sure to choose finishes specially formulated for floors; furniture finishes are not durable enough for flooring.
 Professional floor installers stress the importance of running test strips on your floorboards after you have picked out a stain color and gloss level. Seeing a small sample of the end result in your own home is critical; that beautiful finish you saw at your neighbor’s house might look completely different when paired with your floorboards, since all wood takes colors differently depending on age and species. Always take your time when it comes to deciding on stains and finishes; you don’t want to rush into something you’ll be looking at and living with daily.
After you’ve brought your floors back to their glory, you should implement a few preventive measures to slow the aging and scuffing of your floor. Take caution when moving furniture, and use furniture pads created for use on hardwood. Inspect the legs on all chairs, couches and tables to ensure there are no sharp edges. Purchasing a quality floor mat to go under desk chairs is also a good idea.
Most importantly, always remember to appreciate the beauty that a well-cared-for hardwood floor can bring to a home.
Floor Refinishing, Hardwood Floors, Professional Floor Installers, Semi-gloss Floor Finish, Weekend Warrior


