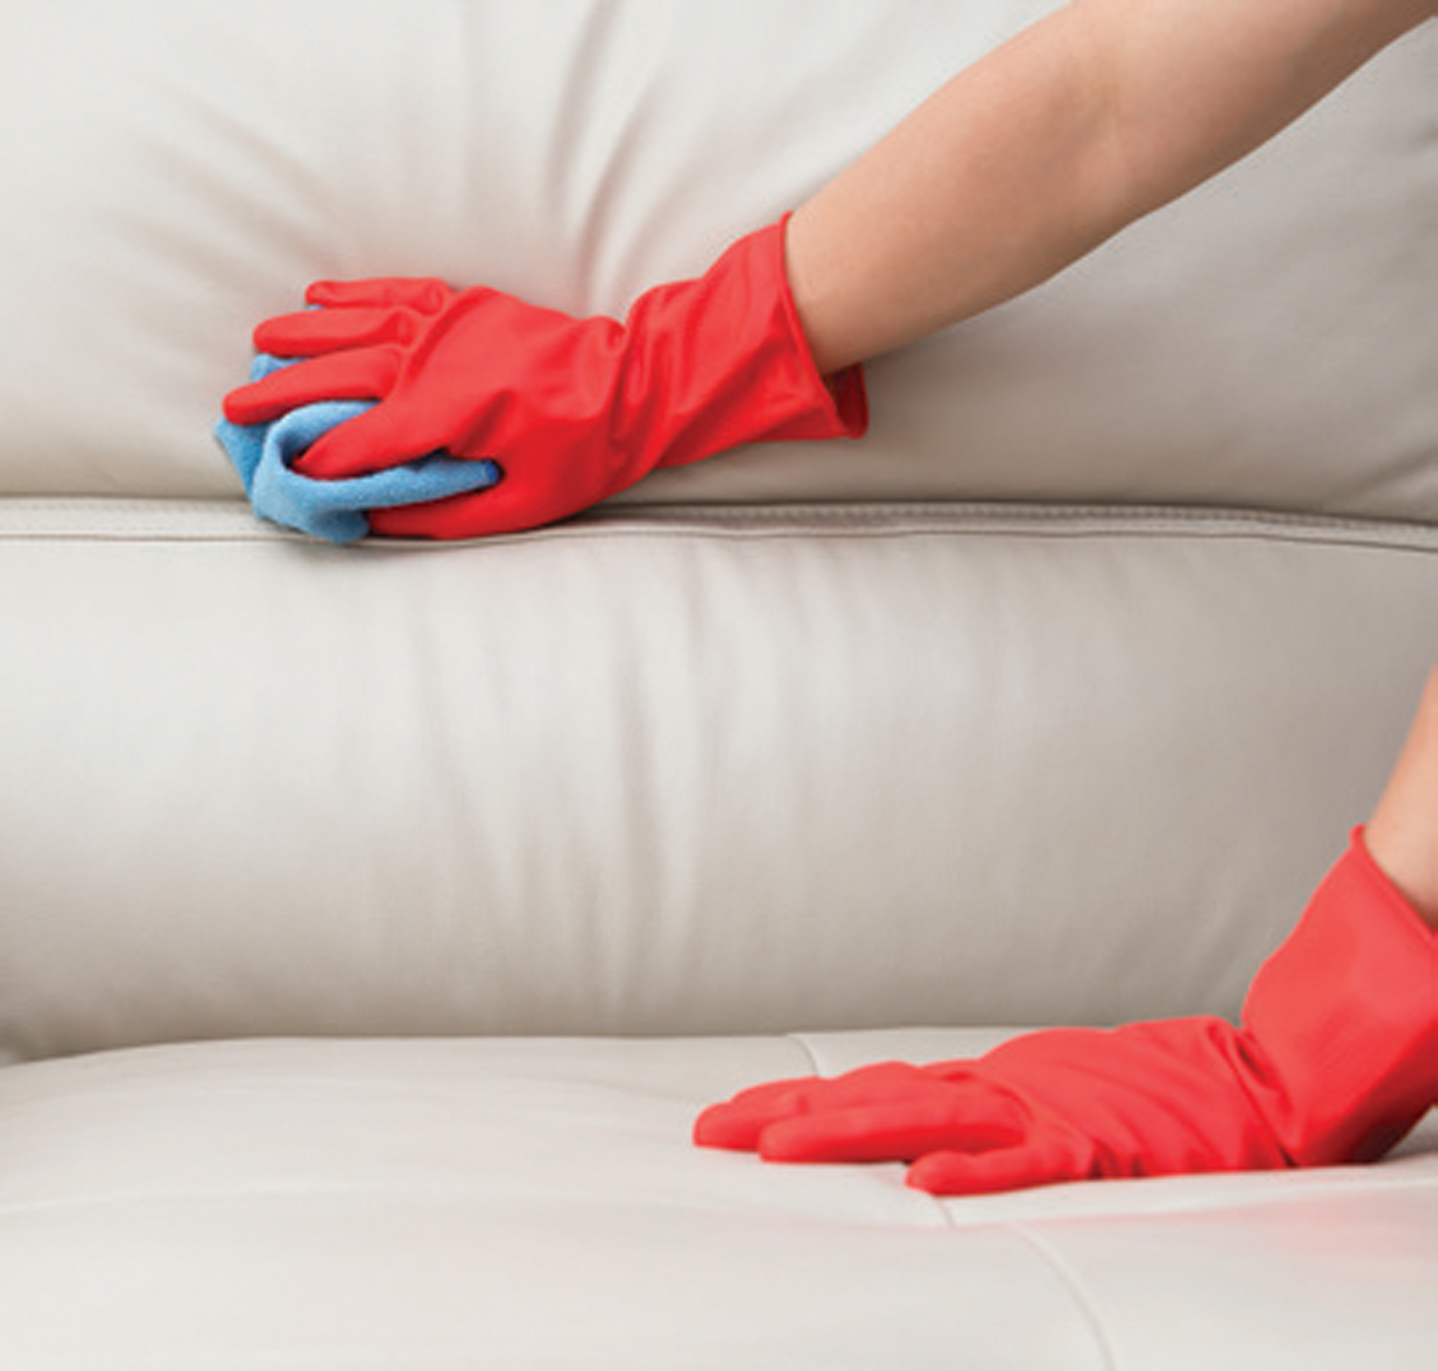
Keeping Leather Furniture Luxe

 At first glance, leather furniture might seem like the perfect choice for your family—it adds depth and elegance to any room, and anything spilled on it can be wiped up right away. But anyone who owns leather furniture will attest to the fact that it requires more upkeep than first meets the eye. Couches tear with wear, pets’ paws scratch, kids have accidents, and mugs of too-hot coffee left even for a moment can leave a burn mark on your furniture. Since there’s more to life than babysitting a leather couch, everyone who owns leather furniture—or wants to—should know how to maintain it, when and how to mend it, and when to bring it to a leather restoration professional.
In the case of damage, take into consideration the severity before embarking on a DIY home repair. If you only have a few minor scratches or marks, you might be able to conceal the damage with inexpensive techniques and products you probably have at home. On the other hand, if you’re throwing a blanket over the damaged area or considering replacing the piece due to the level of damage (no need to do so if the furniture’s structure is in good repair and the damage is only cosmetic), you might want to consider calling a leather restoration professional.
Before attempting any repairs on your own, look for the manufacturer’s suggestions, which can be located on any tag that is on the furniture or on the manufacturer’s website. The recommendations may advise you to use a certain cleanser or conditioner, as well as what not to do to your leather furniture. Look for leather conditioners, cleansers and adhesives at your local furniture store, from the manufacturer, in the auto section of big box stores, or through an online vendor like Amazon.com.
 Cleaning Stains
If you own an antique or previously cherished piece of leather furniture, you likely enjoy a gorgeous patina, but will generally have a more difficult time keeping the leather clean and stain-free. Modern leather furniture usually comes with a protective coating, which makes it both easier to clean and to maintain. In order to see if you have finished leather, sprinkle a single droplet of water onto an inconspicuous place on the furniture and quickly wipe it up. If the water didn’t leave a dark mark, then you have finished leather. Note that if you are dealing with unfinished leather that has stains, don’t attempt a DIY fix—consult a leather repair professional since the stain is trapped under the leather’s surface and thus cannot be removed easily.
The key to stain removal from finished leather is to attack it while it’s fresh. To remove a stain from finished leather, vacuum the furniture with a soft brush attachment so that the surface is free from debris, and then blot the stain with a lint-free cloth. Next, lightly dampen a cotton cloth with water and blot the stain again. Leave to air dry.
Repairing Scratches
Whether you are working with treated or untreated leather, scratches are treated the same way. The trick here is to avoid making any scratches appear larger than they are—so slow, steady and gentle wins the race. Clean the area with a vacuum as you would for stain removal, and then lightly dampen a lint-free or cotton cloth with leather conditioner. Lightly buff and rub the cloth into the scratch mark. While you are doing this, point a hair dryer on low heat at the scratch (just make sure not to let the hair dryer come into direct contact with the leather). The heat will coax the leather’s natural oils out to lubricate and repair the scar. It may not vanish entirely, but after this point, it should fade into the rest of the leather. Leave to heal for 3 to 4 hours.
 Tears or Cuts
If you have a very small tear or cut in your leather in a relatively unnoticeable spot, then it might be kinder to both your schedule and your budget to try to fix the tear yourself; otherwise, consult a leather professional so you don’t risk damaging the leather even more.
In order to fix the cut or tear, you need to patch it. You can do this by either purchasing a leather patch to match your leather or by removing a swatch of leather from beneath the chair, sofa or settee you’re fixing. Make sure the patch is larger than the tear by at least one inch on all sides. Next, smooth away any tough edges near the tear by scraping them with the blunt edge of a butter knife. If any threads or jagged edges remain, trim them carefully with a pair of small scissors (like cuticle scissors). Carefully place leather adhesive along the edges, apply the patch, and smooth out any wrinkles. After one full day, apply leather conditioner to the entire area by buffing it in circles with a lint-free cloth and rubbing it in lightly.
The Best Solution
As it tends to go, the best solution is prevention. Remember that real leather is made from real animal skin, and skin dries out. Creases, peeling, flaking—all of these are caused by dry skin, so remember to apply moisture to your leather every other month in the fall and winter, once in spring, and once in summer. By keeping your leather moisturized and conditioned, you will not only help keep away stains, but you will also delay (or even possibly avoid) long-term damage to your furniture.
leather, leather furniture, leather maintenance, leather repair


